
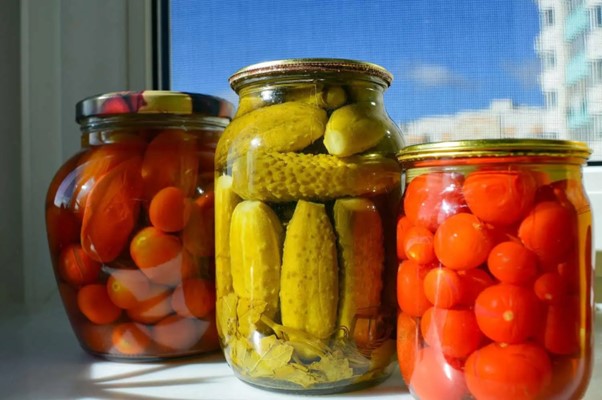
Do you ever get sick of buying delicious fresh produce only to throw it out before consuming it? Canning and preserving at home is a great way to eliminate that from happening.
This ultimate guide covers everything you need to know about canning, whether you’re a novice or an expert just looking for new insight.
Benefits of canning and preserving at home
There are many benefits to home canning and preserving, apart from saving some of your perishables for later.
Firstly, you can enjoy the flavors of your favorite produce year-round. When you can or preserve fruits and vegetables, you get to consume them at the exquisite ripeness you bought them and long after they are out of season.
The second advantage is that home canning and preserving are cost-effective. When you chance on a deal or offer that deciphers quality at a lower cost, there isn’t the pain. You can preserve more and use them when they are costly, reducing their waste and ensuring that you get to consume them when they are most inexpensive.
Lastly, home-canned foods are healthier than store-bought products. Since you get to regulate the items that go into it, you can choose between low or high levels of sugar or saltier preserves. Hence you get to enjoy better health with or without food restrictions.
Equipment and supplies needed for canning and preserving
But, before you start getting into the world of canning, you would also have to get the following:
Canning jars: Numerous mason jars are hence sold for canning, but a number of sizes are meant for canning. Thus, verify your jars for breaks or chips before you start canning. If they are in good form, the pads should seal correctly.
Nevertheless, Bands and lids. The lids must be new anytime you can while the bands become used again until they rust excessively. As a proceeding organization to canning, temperatures must be given to ensure a safe seal as soon as you apply the jar. Canning pot or pressure canner.
The kind of pot you require differs relying upon the canning approach you select. A huge pot with a cover and a rack is required for water bath canning. A pressure canner is necessary for pressure plenty canning. Essential canning tools.
Buy a collection of canning tools, comprising jar lifters, lid, lifters, funnel, and, bubble removers, to achieve the act safer and more comfortable.
Last but not least, kitchen essentials such as cutting a board, knife, measuring cups, and a great pot for blushing or receiving produce previously canning. Pursue the instructions that arrive with each canning area to make guaranteed you are canning securely.
Basic canning methods – water bath canning and pressure canning
The two primary methods of canning include the water bath canning and the pressure canning. The method used is dependent on the type of food, and its primary goal is to destroy all harmful bacteria. The process using high-acid foods, including fruits, pickles, and jams can use the water bath method.
The process entails placing filled jars of hot water and undergoing a specific time. The water bath method helps to can acidic foods such as fruits, pickles, and jams.
The steps involved in the process of canning through water bath include: prepare the jars by washing them in hot soapy water, rinse them, and then warm them until necessary; prepare the fruits or vegetable for the recipe, fill the jars with the recommended space as guided by the recipe, and apply the lids and bands to the jars.
Others include processing and the removal of the processed jars. The water bath method may sound complicated, but it is relatively simple and insensitive to seek, making the beginners’ best method.
Pressure canning
When you choose to can low-acid foods, such as vegetables, meat, or soups, you are forced to utilize a pressure canner. Its primary function is that it can allow you to reach the necessary temperature, high enough to destroy harmful bacterium Clostridium botulinum.
Here is how it works: Steps: Prepare the jars. Likewise, when with the water bath canning, you need to utilize jars, lids, and bands as part of the same automatic food processor process. Wash and prepare your low-acid food. Clean and prepare your low-acid food, according to the recipe. Cut it into sections and blanch it if required.
Fill the jars: Fill your jars with hot or still hot low-acid food, leaving the necessary headspace. Wipe the rims of the jars before you proceed. Apply the lids and bands.
Place a lid on each jar and add a band on top of bandar togel. Tighten the band to fingertip tightness. Prepare the pressure canner. Add water according to the manufacturers’ recommendation, and place the purposed jars inside. Ensure the canner is sealed and follow the instructions to reach a pressure and a vent.
Process the jars. Once the canner reaches the rigidity, begin the process. Maintain a constant pressure for a certain period. Remove and cool. When the time is up, switch off heat and let the pressure canner to depressurize naturally.
Remove the jars. Let them cool without disturbance. Although it requires a little more care and equipment, pressure canning is ultimately necessary for the safety of some foods.
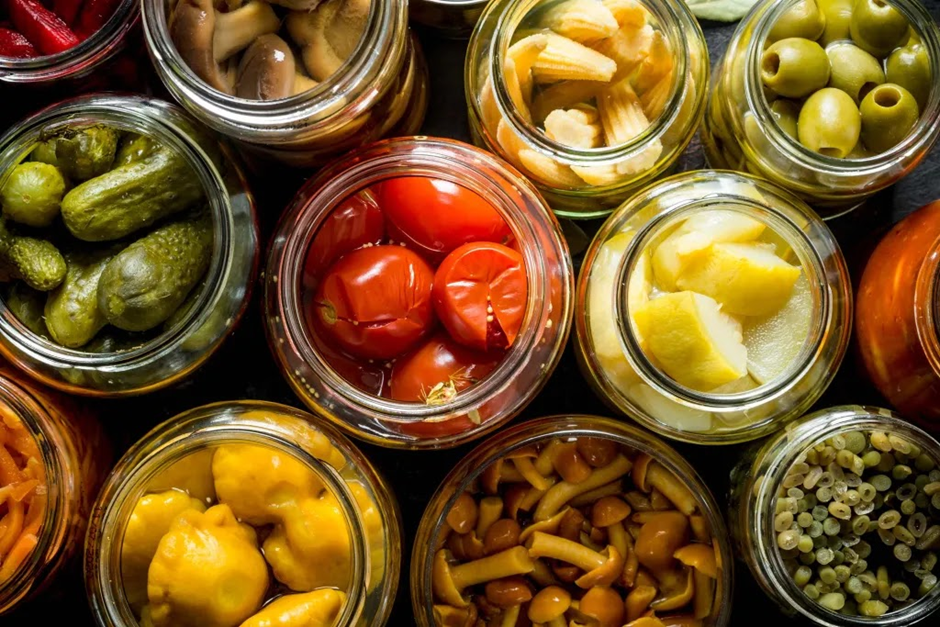
Choosing the right produce for canning and preserving
Not all fruits and vegetables are created equal when it comes to canning and preservation. Some produce cans better than others, and a few, when canned, are not palatable. The following are considerations to take into consideration when selecting produce for canning:
Freshness: Only use the best and freshest ripe fruits and veggies. Overly ripe, as well as under ripe fruits and vegetables, are dependent on the can. High-quality produce: Examine the fruits and veggies to determine if they are free of defects and diseases . Use state-of-the-art produced for preservation and canning.
Variety: Fruits and veggies Slow fruits and veggies have different textures, flavors, and water content.
Try various types to determine which ones you prefer canned. Appropriate Follows: Some fruits and veggies deliciously can produce, so start with canned tomatoes and peaches or freshly canned cranberries to be recognized. By being selective, you can increase the flavor and quality of canned and stored food.
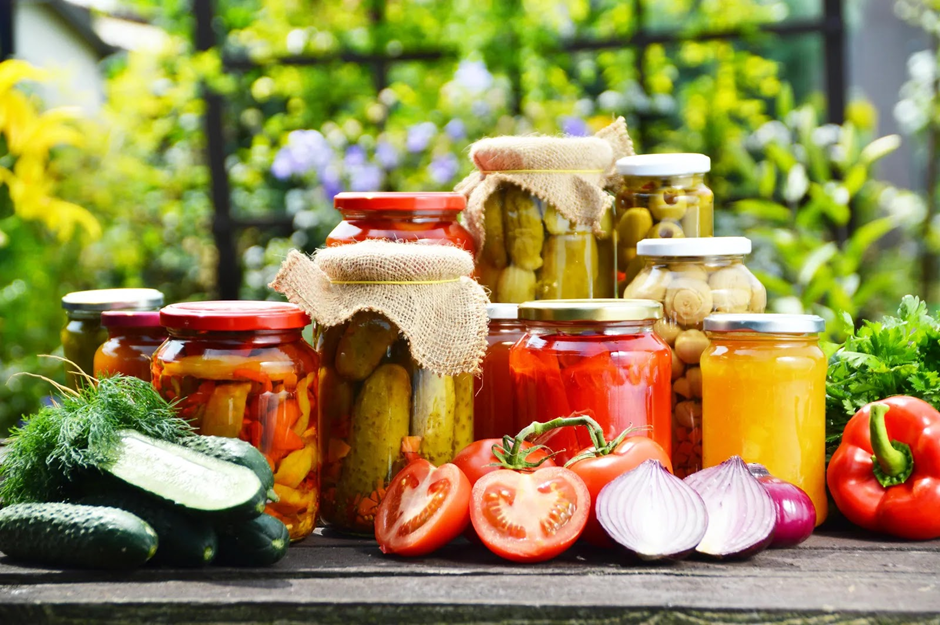
Preparing fruits and vegetables for canning and preserving
Proper preparation of produce before canning is vital to a successful final product. These are the steps taken to prepare produce for canning:
Wash the produce: Wash thoroughly to rid it of dirt, any other debris, and pesticides. Use running water to do that and a vegetable brush if the produce is firmer.
Peel and Pit: Peel and pit the produce accordingly depending on the recipe and what you want. Blanch peaches and tomatoes to make removing the skin easier.
Slice or chop: Slicing and chopping should conform to your preferences and recipe specifications . It should also be consistent to ensure that everything cooks uniformly and the final product is of high quality.
Blanch: Blanching is the process of boiling the produce briefly before putting it on the jars to can. This process ensures that the produce retains its color and texture and that nutrient quality is maintained. Different produce items have different blanching times.
Remove air bubbles: After you have filled the jars with the prepared produce, a bubble remover or a utensil can be used to remove air bubbles. This step ensures that the right amount of food gets into the jar and is sealed up. Properly preparing the produce is an essential early step to successful canning and preserving that ensures high-quality results.
Storing and using canned and preserved foods
When all of the work of canning and preserving is done, don’t forget that it is essential to store your jars properly to maintain the quality and safety of the food you have worked so hard to make.
Here are some storage-related things you should follow and some ideas about how you can enjoy using the foods you have preserved for yourself. Once they have cooled, the jars should be tightly bound to the center.
A sealed lid should pop back. If the jar is not sealed, use it right away. Store sealed jars in a cool, dark place, away from direct sunlight. Label each jar with the contents and a date of canning. Generally, jars will last about 12-18 months.
The items may remain safe long afterward, but they won’t be of high quality. To preserve freshness, use the older cans first. If you are going to consume canned or preserved food, always check the jar first before opening it Luker.
Therefore, consumers must look for signs of spoilage on each jar, such as a lid bulging, mold, odor or other items. Do not consume anything that causes suspicion.
Lastly, enjoy using it. Canned or preserved food can also be used by jams on toast, canned peaches on sundae, or preserved tomatoes to make a sauce or stew. Masterchef can use different recipes. By preserving and storing food properly, you will enjoy the results of your hard work for months to come.
Additional resources for home canning and preserving techniques
Home canning and preserving are skills that offer the benefit of enjoying your favorite fruits and vegetables’ flavors all year long. Knowing the essential principles of various canning methods, how to choose suitable crops, and how to properly prepare and keep your products are all factors to get you started.
I remind you to practice going canning and preserving does not make you perfect. Don’t be discouraged if the first batch doesn’t go well. Learn from your mistakes and improve with each instance. To learn more about other techniques or refresh your memory about simpler ways, learn from the most recognized resources.
Building your knowledge may be established on a foundation of adequate education. This goes to canning books, local training facilities, or perhaps YouTube tutorials.
The most thrilled aspect is the hard work and constant experimentation required for home-canned creations. Therefore gather your things and get ready to spend the day canning your items for the excellent sustainable pleasure.


